Capturing the Sparkle: A Comprehensive Guide to Professional Jewellery Photography
Related Articles: Capturing the Sparkle: A Comprehensive Guide to Professional Jewellery Photography
Introduction
In this auspicious occasion, we are delighted to delve into the intriguing topic related to Capturing the Sparkle: A Comprehensive Guide to Professional Jewellery Photography. Let’s weave interesting information and offer fresh perspectives to the readers.
Table of Content
Capturing the Sparkle: A Comprehensive Guide to Professional Jewellery Photography

In the world of online retail, where visual appeal reigns supreme, captivating product photography is paramount. For jewellery, a product category that thrives on intricate details and dazzling brilliance, high-quality imagery is not merely desirable, it’s essential. This guide delves into the art and science of jewellery photography, offering a comprehensive approach to capturing the beauty and allure of precious pieces.
The Importance of High-Quality Jewellery Photography
Jewellery photography transcends mere documentation; it becomes a powerful marketing tool. Compelling images can:
- Attract attention: Stunning visuals stand out in a crowded online marketplace, drawing potential customers to your products.
- Boost sales: High-quality photographs convey the craftsmanship, beauty, and value of jewellery, encouraging purchase decisions.
- Enhance brand image: Consistent, professional photography establishes a brand identity and reinforces your commitment to quality.
- Increase customer satisfaction: Accurate and detailed images manage expectations, reducing post-purchase dissatisfaction.
- Drive engagement: Beautiful visuals inspire social media sharing and encourage interaction with your brand.
Setting the Stage: Essential Equipment and Considerations
Before embarking on a jewellery photography journey, it’s crucial to assemble the right tools and understand the basics of lighting and composition.
1. Camera Equipment:
- DSLR or Mirrorless Camera: These offer superior image quality, manual control, and versatility.
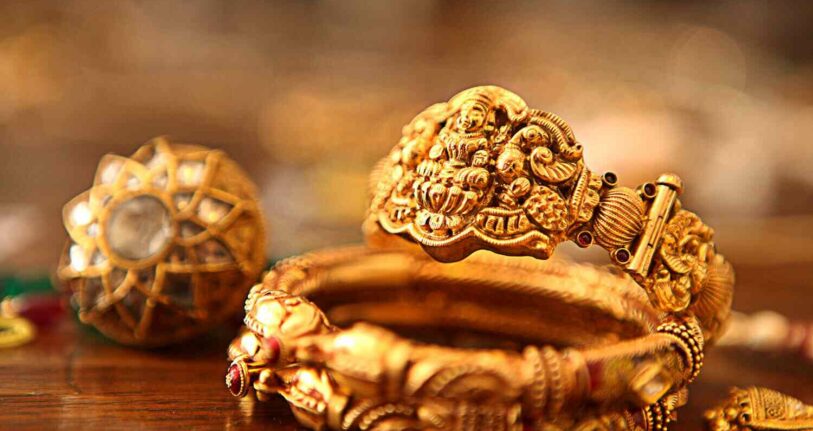
- Macro Lens: A dedicated macro lens is essential for capturing the intricate details of jewellery.
- Tripod: Ensures stability and eliminates camera shake, resulting in sharp images.
- Remote Shutter Release: Minimizes camera shake further and allows for precise control over exposure.
2. Lighting:
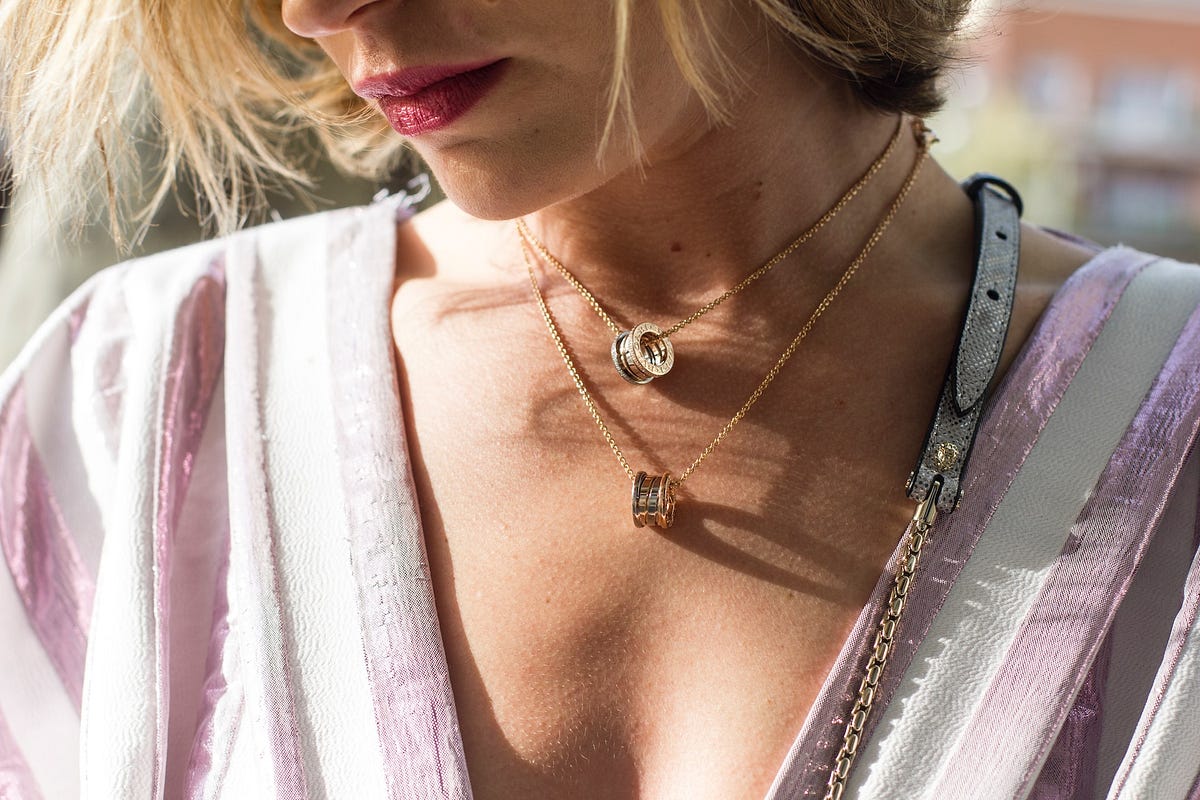
- Natural Light: Soft, diffused natural light is ideal for jewellery photography, offering a natural and flattering glow.
- Artificial Light: For controlled studio settings, consider continuous lighting systems or studio flashes.
- Diffusers: Softens harsh light and reduces shadows, creating a more balanced and pleasing illumination.
- Reflectors: Bounce light back onto the subject, filling in shadows and adding dimension.
3. Backgrounds:
- White or Neutral Backgrounds: These provide a clean and minimalist backdrop, allowing the jewellery to take center stage.
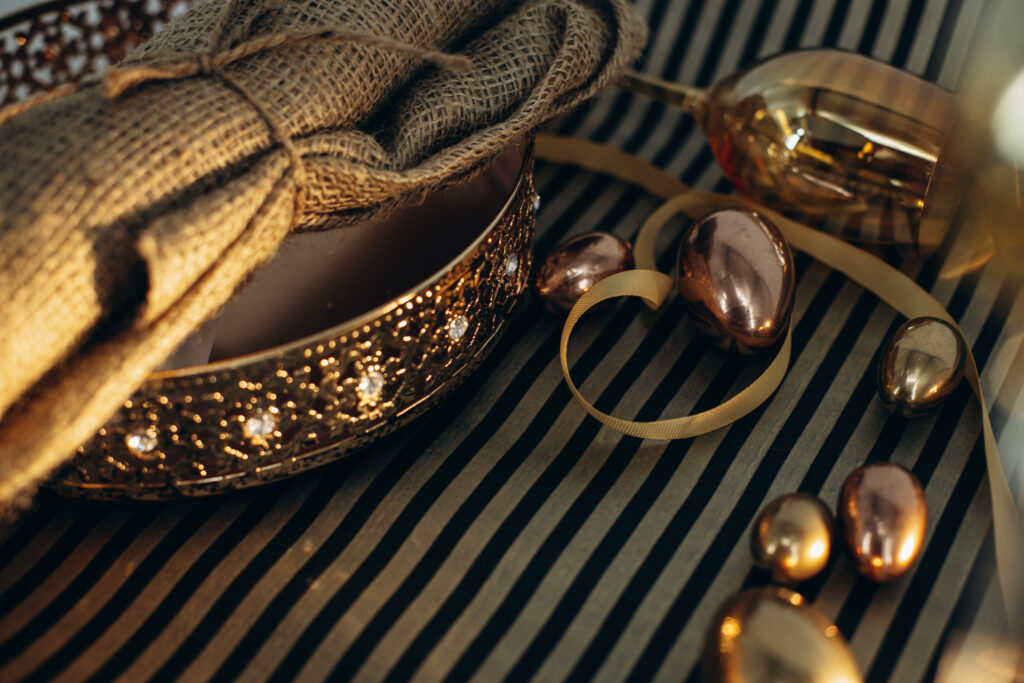
- Textured Backgrounds: For a more artistic touch, consider textured backgrounds like fabric or wood.
- Props: Adding props like flowers, fabrics, or other objects can enhance the visual appeal and create a specific mood.
4. Composition:
- Rule of Thirds: Divide the image into thirds horizontally and vertically, placing the subject at the intersection points for visual interest.
- Symmetry and Balance: Consider the arrangement of elements within the frame to create a sense of harmony.
- Negative Space: Use empty space around the subject to create a sense of depth and draw attention to the jewellery.
5. Post-Processing:
- Image Editing Software: Use software like Adobe Photoshop or Lightroom to adjust brightness, contrast, color balance, and remove imperfections.
- Retouching: Enhance the image by removing dust, blemishes, or other distractions.
- Sharpening: Enhance the sharpness of the image, especially for intricate details.
Mastering the Techniques: A Step-by-Step Guide to Jewellery Photography
1. Setting Up Your Studio:
- Choose a Location: Select a well-lit space with minimal distractions.
- Set Up Your Background: Choose a background that complements the jewellery and creates a clean aesthetic.
- Arrange Your Lighting: Position lights to achieve balanced and flattering illumination.
2. Preparing Your Subject:
- Clean the Jewellery: Remove any dust or fingerprints with a soft cloth.
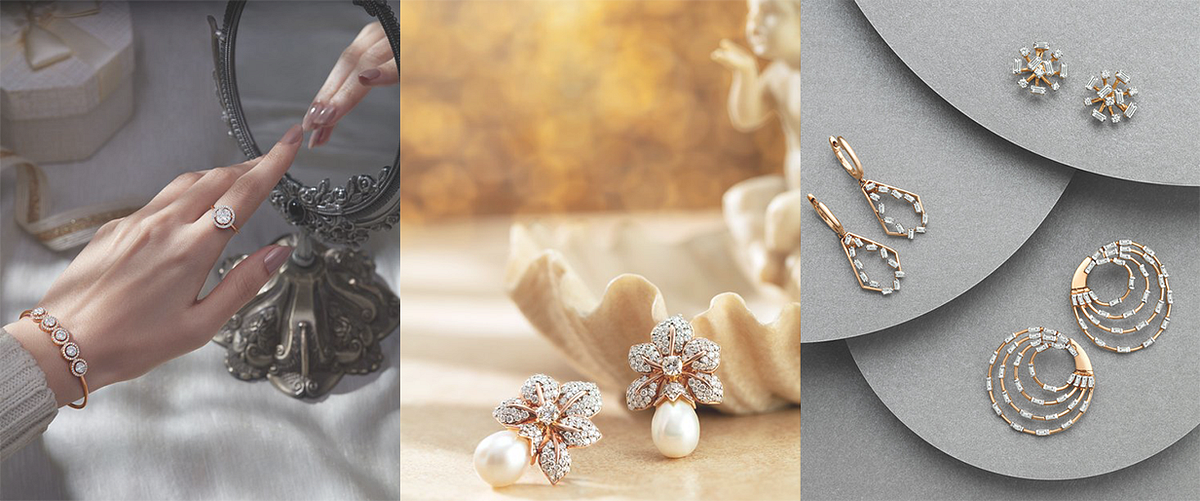
- Choose the Right Angle: Experiment with different angles to find the most flattering perspective.
- Use Props (Optional): Add props to create a specific mood or enhance the visual appeal.
3. Adjusting Camera Settings:
- Aperture: Use a wide aperture (low f-stop) to achieve a shallow depth of field, blurring the background and emphasizing the subject.
- Shutter Speed: Choose a shutter speed that is fast enough to prevent camera shake.
- ISO: Use a low ISO setting for optimal image quality.
- White Balance: Set the white balance to accurately represent the colors of the jewellery.
4. Capturing the Image:
- Use a Tripod: Ensure stability for sharp images.
- Compose Carefully: Apply the rule of thirds and other composition principles.
- Focus Precisely: Use manual focus for greater control over the point of focus.
- Take Multiple Shots: Experiment with different angles, compositions, and lighting to find the best results.
5. Post-Processing:
- Adjust Exposure: Fine-tune the brightness and contrast of the image.
- Correct Color Balance: Ensure the colors are accurate and balanced.
- Sharpen the Image: Enhance the details of the jewellery.
- Remove Imperfections: Retouch any dust, blemishes, or other distractions.
Frequently Asked Questions (FAQs) about Jewellery Photography
Q: What type of lighting is best for jewellery photography?
A: Soft, diffused natural light is ideal for jewellery photography, as it provides a natural and flattering glow. However, if natural light is not available, artificial light sources like continuous lighting systems or studio flashes can be used.
Q: What is the best way to capture the sparkle of diamonds and gemstones?
A: To capture the sparkle, use a wide aperture (low f-stop) to create a shallow depth of field. This will blur the background and emphasize the subject, allowing the light to reflect off the gemstones and create a dazzling effect.
Q: How do I photograph jewellery that is very small or delicate?
A: For small or delicate jewellery, use a macro lens to capture the intricate details. Consider using a tripod and a remote shutter release to minimize camera shake and ensure sharpness.
Q: What are some tips for photographing jewellery with a smartphone?
A: Use a smartphone with a good camera and consider investing in a macro lens attachment. Find a well-lit location with soft, diffused light. Use a white or neutral background and experiment with different angles to find the most flattering perspective.
Q: What are some common mistakes to avoid in jewellery photography?
A: Common mistakes include using harsh lighting, not cleaning the jewellery, using a blurry background, and not paying attention to composition. Avoiding these pitfalls will significantly improve the quality of your images.
Tips for Taking Professional-Looking Jewellery Photos:
- Experiment with angles and compositions. Try different perspectives and arrangements to find the most visually appealing shot.
- Use a variety of props. Props can add context and enhance the visual appeal of your images.
- Pay attention to detail. Ensure that the jewellery is clean, free of dust, and properly positioned.
- Edit your images carefully. Use image editing software to adjust brightness, contrast, color balance, and remove imperfections.
- Practice regularly. The more you shoot, the better you will become at capturing beautiful and professional-looking jewellery images.
Conclusion: Elevating Your Jewellery Photography
By mastering the art of jewellery photography, you can elevate your brand image, attract new customers, and boost sales. Remember, it’s not just about capturing a product; it’s about telling a story, evoking emotions, and showcasing the beauty and value of your creations. With careful planning, a keen eye for detail, and a passion for capturing the sparkle, you can create stunning imagery that truly reflects the brilliance of your jewellery.


Closure
Thus, we hope this article has provided valuable insights into Capturing the Sparkle: A Comprehensive Guide to Professional Jewellery Photography. We appreciate your attention to our article. See you in our next article!